Canon PIXMA G6020 is High-Performance printing, copying and scanning solution wireless printer. Its front-mounted reservoirs show you the ink level in one glance to easily refill ink. It’s suitable for printing heavy text documents, images, DIY and more. You can visit ij.start.canon/G6020 to get the latest drivers and perform Canon G6020 Setup with the following instructions.
First of all, you have to unbox your new Canon PIXMA MegaTank G6020 printer by removing extra plastic, tape and material. Then, connect the power cable to the power cord and wall outlet and turn the printer on. You can then continue the Setup with these steps.
Connecting PIXMA G6020 to WiFi
Step 1: Ensure your wireless router is set up, then turn it on.
Step 2: Turn on your G6020 model.
Step 3: Press the Wireless Connect button ![]() and hold for three seconds.
and hold for three seconds.
Step 4: Let the printer find your router WiFi network.
Step 5: Follow instructions to connect the network. If required, enter the password.
Step 6: When you see the “Connected” message on LCD, the Canon G6020 Wireless network Setup is finished. Now you can move to the software installation process.
On Windows –
- Press and hold the wireless connect
First of all, turn on your Canon G6020 printer, then go to the LCD menu. Next, press the wireless button, release after 3 seconds, and wait for the “Follow Instructions” screen. Make sure your router network has been connected to your PIXMA model.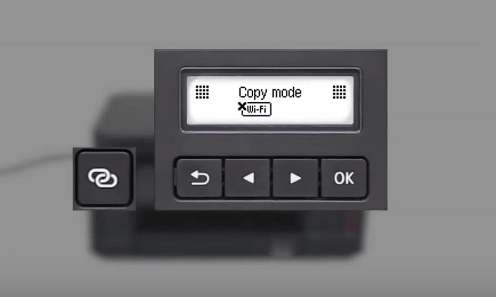
2. Visit start.canon/G6020.
Launch a browser on windows, i.e., chrome, Edge, Firefox and enter the “ij.start.canon/G6020” URL address in the search address bar. Here, click Start, and you can watch the video to prepare the printer.
3. Download online Canon G6020 setup.
If you already have prepared your G6020, then click on the “If you have already prepared your printer, go to Connect” link. Now, select Windows from the bottom left, then click on the Download button. 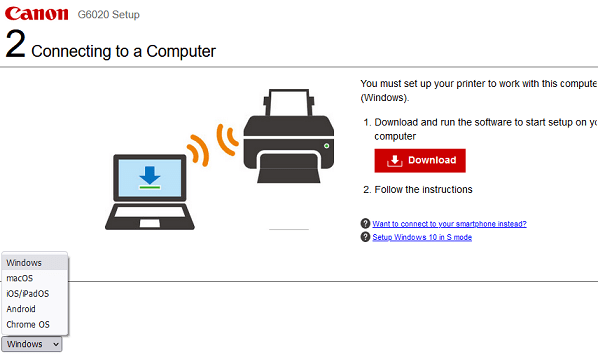
4. Run the downloaded Setup and click Start Setup.
Click on “win-g600-1_1-n_mcd.exe” to open the file. Then, click on “Start Setup” and next in the following window. 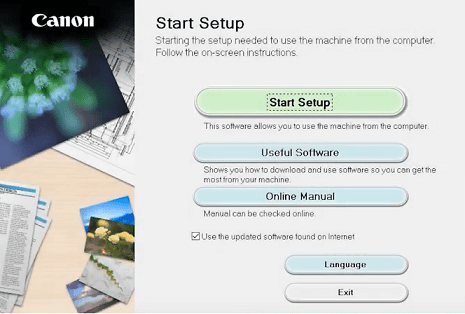
5. Select your region and Accept the license agreement.
The software will acquire some information, then choose your country and click Next. Now, read the license agreement terms and click Yes and Agree in the next window. 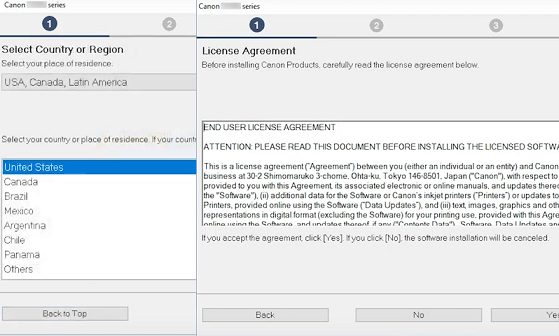
6. Complete the wireless setup installation.
Make sure your G6020 model and router is showing in the Connection Method screen. If it’s correct, click Yes, and the wireless connection completes. Click Next to proceed. 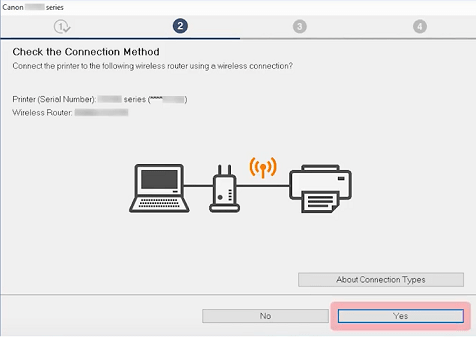
7. Canon PIXMA G6020 Driver installs.
Wait for a few minutes to install the driver, click “Start” on the Test print page, and print with the Canon G6020 printer. If you click next, the Setup complete screen will show up. 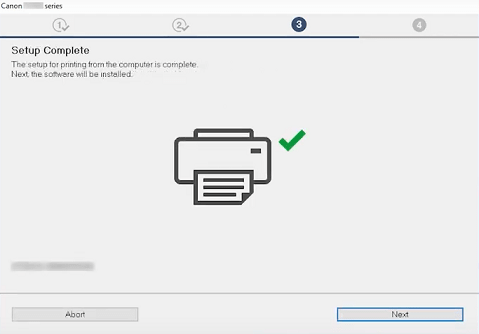
8. Install additional software for complete Setup.
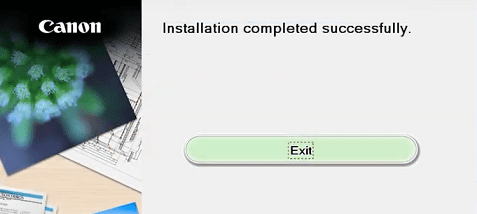
Select the software you require for printer setup. Then, click Next and wait for the software to install once the Canon PIXMA setup is completed and Click Exit. 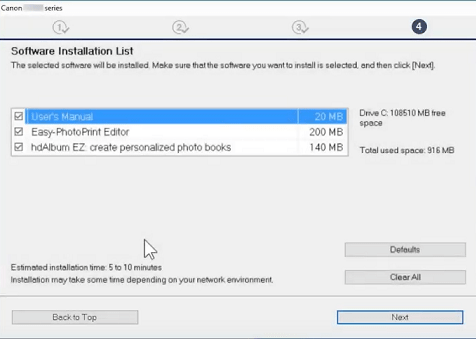
On Mac –
- Turn on your PIXMA G6020 and push the G6020 button.
Press the ON button to power on the PIXMA printer. When the ON light is stable, press and hold the wireless button for 3 to 5 seconds until you see the “Follow the instructions” message. Next, establish the connection with your router network and printer. 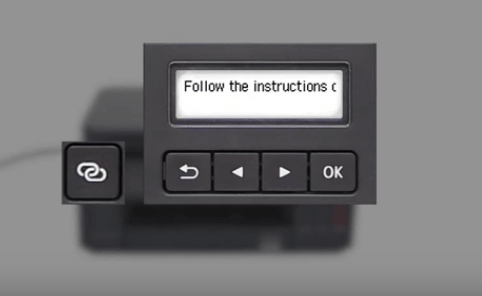
2. Download Canon G6020 Setup from ij.start.canon/G6020.
Go to https://ij.start.canon/G6020 and click Start. If you’ve not prepared your PIXMA printer, watch the video to get started. Then, click on the “go to connect” under the detailed video option. Next, select macOS from the left bottom dropdown list, then click Download. If another prompt appears, save the file to a location. 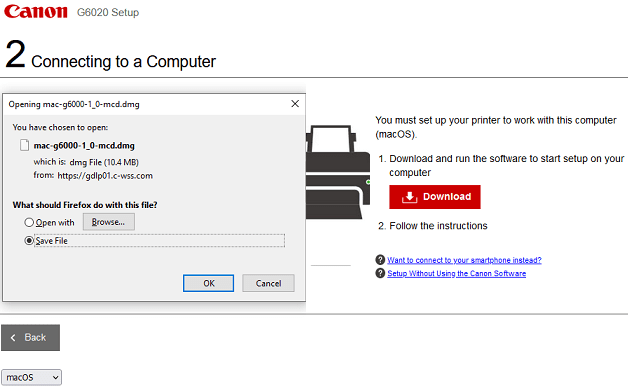
3. Open the mac.dmg file to start the installation.
Click on the “mac-g600-1_0-mcd.dmg” file or double click on Setup. Then, click next to use the installer tool. 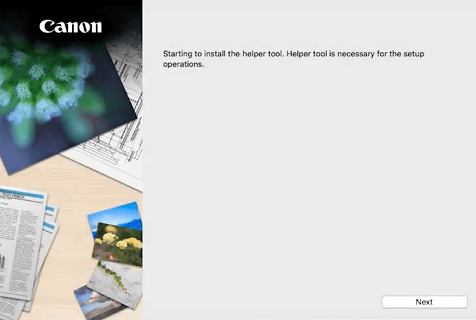
4. Type the mac admin credentials.
The installer tool requires your device credentials to allow installation; therefore, type the username and password. Then, click Start Setup and Next to continue. 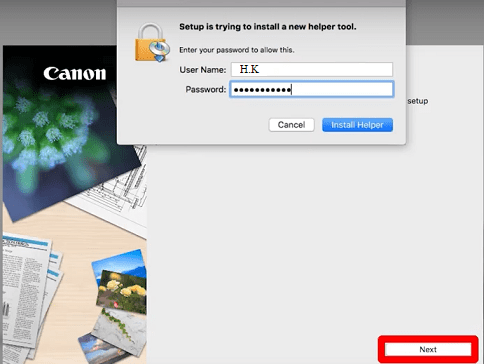
5. Click Yes to accept License Agreement terms.
The system acquires information, and you need to choose the country where you purchased PIXMA G6020. Thereafter, click Yes and Agree. 
6. Set up the wireless connection.
The connection method screen appears, and see if your router and printer name correctly show on the installation screen. Then, click Yes and continue next. 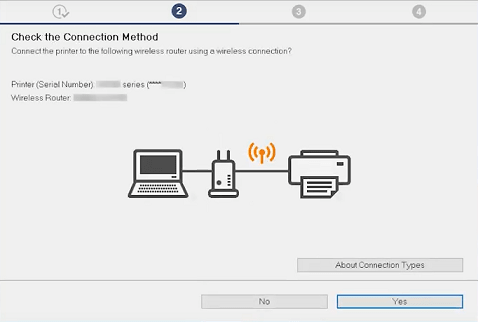
7. Add your Canon G6020 printer to mac device.
When the connection gets completed, click on “Add printer” and Next. The printer adds automatically to the device. You can test printing features now by loading some papers in the printer and going through the Test Print option. 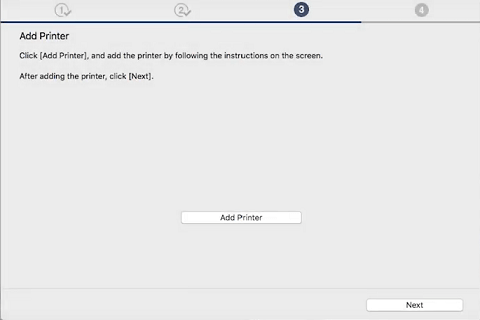
8. Finish the Canon G6020 Setup with additional driver installation.
Jump to the next window and select the software to install additionally. Click Next and wait for the software to install on your Mac PC. Once finished, click Exit.