
Canon Printer MX922 is from the MX920 series, a compact wireless printer with Print, Copy and Scan features. This PIXMA model is suitable for all-in-one printing solutions for your business or home printing requirements. Your new PIXMA MX922 printer requires the Canon MX922 setup guide to activate all its features. Therefore, follow instructions to set it up.
Canon MX922 Wireless Setup –
Connect to WiFi
Make sure your PC is connected to your WiFi network through the wireless router. Then, turn on your PIXMA MX922 and go through the below instructions;
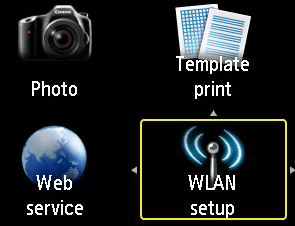
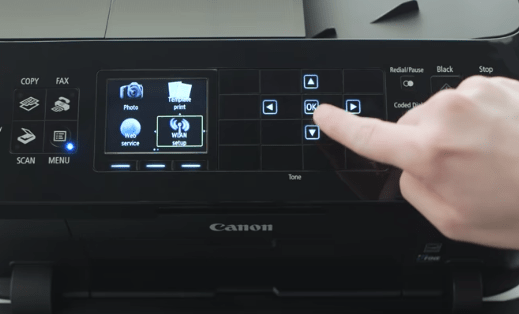
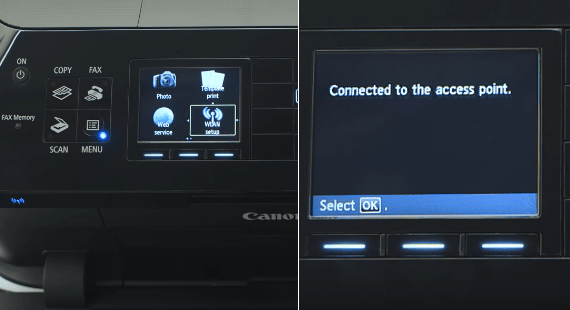
- Press the Menu button and go to WLAN setup using arrows keys. Press OK.
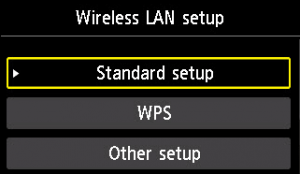
2. The printer starts looking for a network, then selects “Standard Setup” and press OK.
3. Select your network from the shown list and enter the WiFi password now.
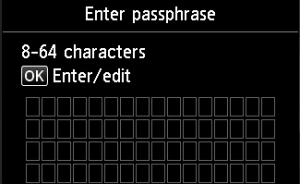
4. Under the Done tab, press the left Function key and ensure your password is correct.

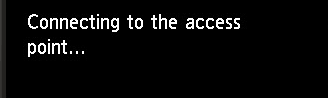
5. Return to the Function key and wait for the printer to connect with the wireless network.
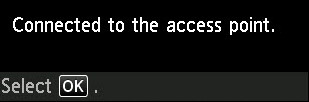
6. Press OK to finish the Canon MX922 Wireless Setup process.
Canon MX922 Setup On Windows
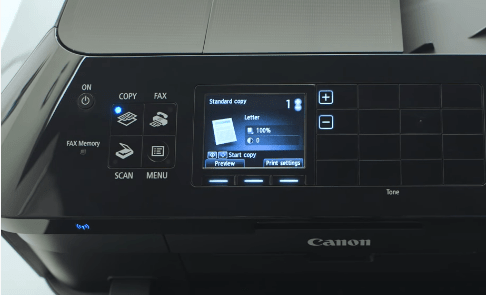
1- Turn on your PIXMA MX922 model.
Connect the power cord to the wall outlet and power it on. Make sure Canon is connected to the same power cable, then press the ON button. The screen will light up automatically.

2- Establish the wireless connection.
Use the menu button to open WLAN setup, then choose a method to set up the wireless connection. If you go with the Standard setup, the WiFi key is required, but you can either use the PIN or WPS push button process on the router in the WPS method. The WiFi setup is shown above.
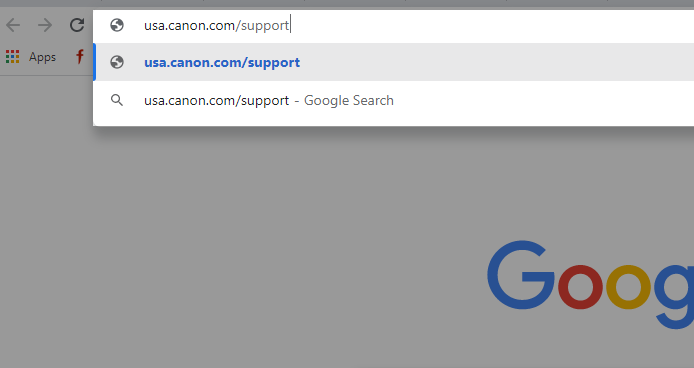
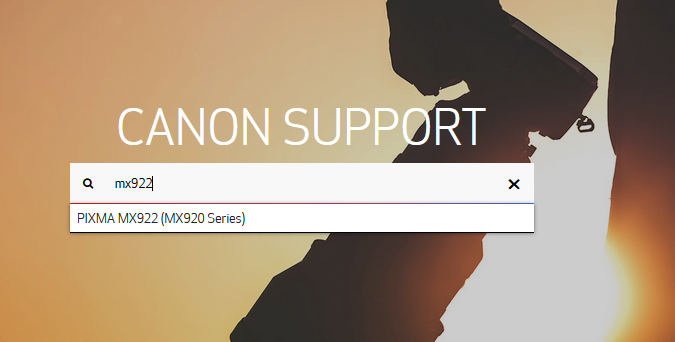
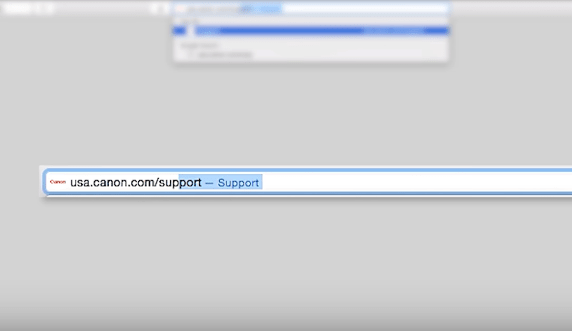
3- Go to the Canon printer support site.
Open your Windows web browser. Type usa.canon.com/support on the search tab and press enter key.
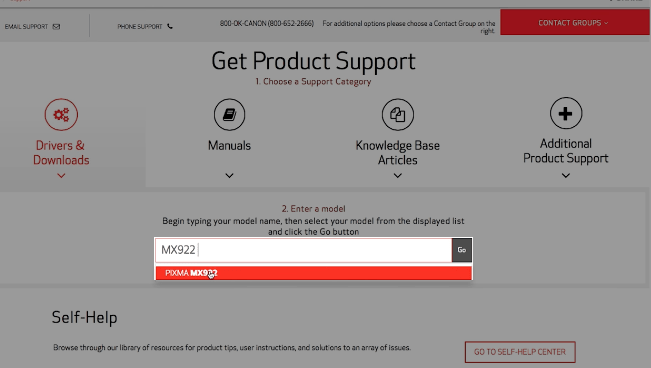
4- Enter your printer model in the box.
Canon support site will open a search box. Hence, enter “MX922” in the box and select it from the shown dropdown. Then, you’ll automatically jump to the download page.
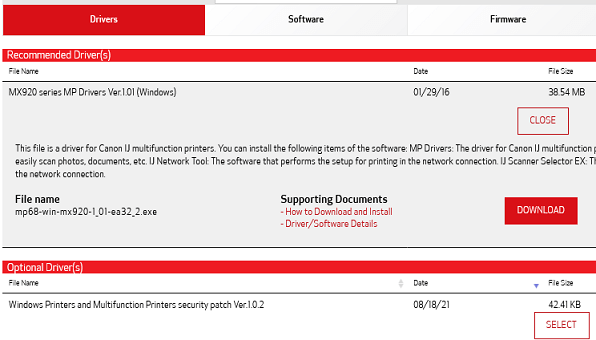
5- Download PIXMA MX922 driver and software.
Scroll down the current webpage and select Windows in the Operating system tab. Then, click select in the MP drivers and click Download. Wait for a few minutes to download the mp68-win-mx920-1_01-ea32_2.exe file.
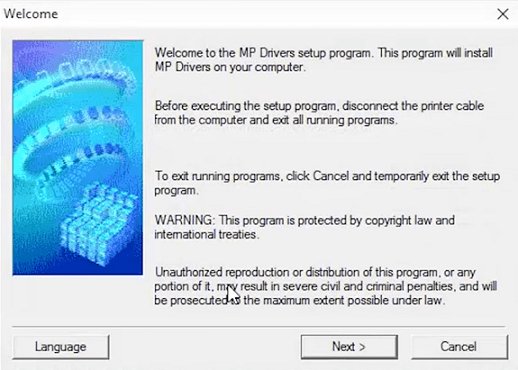
6- Click Run to start the installation on Windows.
Once the mp68-win-mx920-1_01-ea32_2.exe setup file is downloaded, click Run and wait for the Canon MX922 printer install file to extract. Then, click “Next” on the Welcome screen.
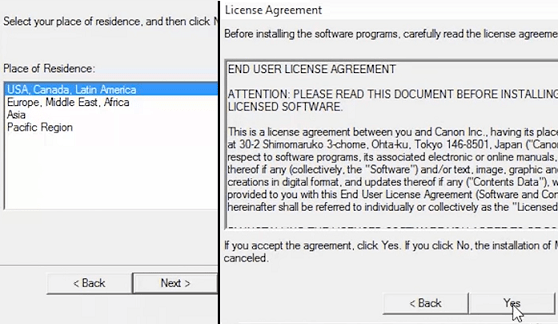
7- Select your place and accept the license agreement.
The next screen asks you to enter your place of residence, select your region from the given list. Then, click next and accept the End User License Agreement by clicking Yes.
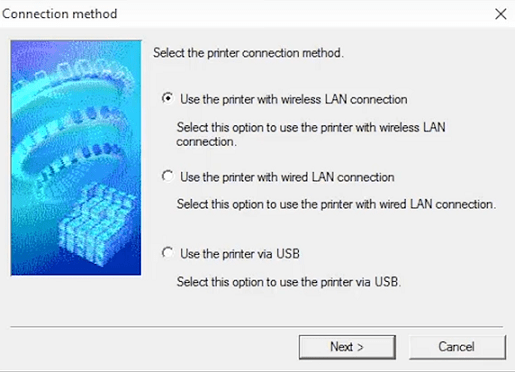
8- Select the wireless connection and click on the MX920 printer.
The printer connection method screen shows, so click on “Use the printer with wireless connection” and click Next. The PC searches for the network, selects “MX920 series” from the shown list, and then clicks Next.
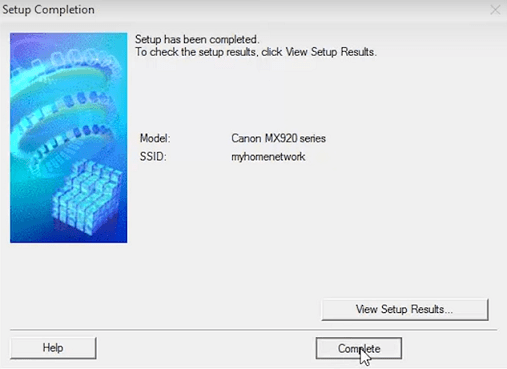
9- Complete the Canon PIXMA MX922 printer setup.
Selecting the correct series will install the drivers and software. You’ll see the “Setup has been completed“ screen; hence click on the Complete tab to finish the process.
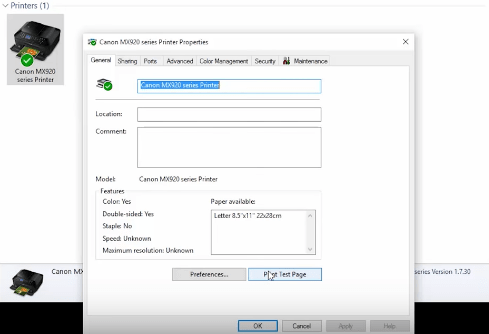
10- Start Printing with a test page.
Go to Control Panel > Hardware and Sound. Then, select your MX922 printer and right-click to select Printing Properties. Simultaneously, load plain paper in the printer and click on Print Test Page. If the PIXMA prints this page, your wireless Canon MX922 is set up successfully.
Canon MX922 Setup On Mac
1- Press the ON button to turn on the Canon MX922.
Make sure the power cable is connected properly to the printer and wall outlet. Then, switch on the power button and press ON in the printer. Blue stable light shows the MX922 is turned on.
2- Use WLAN setup to connect wireless network.
Select WLAN setup from menu and press Stop when access point detects. Select Standard or WPS, choose your router name and provide a PIN. Finally, press OK to connect your PIXMA printer to the wireless network. See the above instruction shown on this page.
3- Go to usa.canon.com/support.
Open safari browser and visit Usa.canon.com/support (canon support site).
4- Enter MX922 in the product search box.
A box appears where you’ve to type MX922, then select the product and jump next.
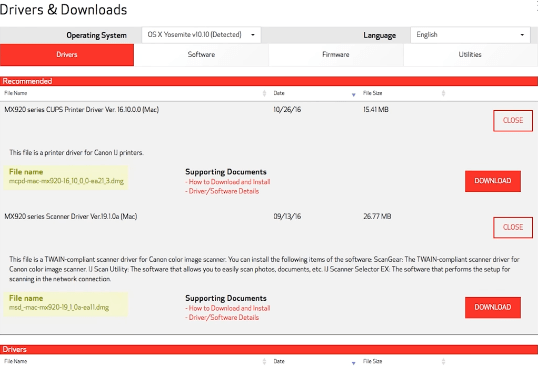
5- Select the mac version and download MX922 drivers for it.
Scroll down the page and stop in the Drivers & Download tab. Then, select your macOS version from the OS list and select drivers (1, 2 or more) and click Download. The file will start downloading, i.e., mcdp-mac-mx920-16_10_0_0ea21_3.dmg file.
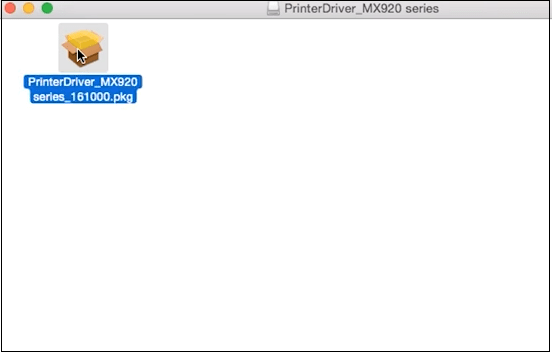
6- Double-click on the Canon PIXMA MX922 driver to install it.
Open the downloaded file and double click on mcdp-mac-mx920-16_10_0_0ea21_3.dmg. Then, click continue on the Introduction screen.
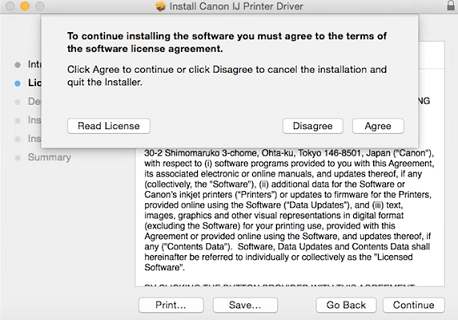
7- Accept the license agreement and click Install.
Read the End User License Agreement terms and click Continue and Agree. In the next installation window, click on the Install tab.
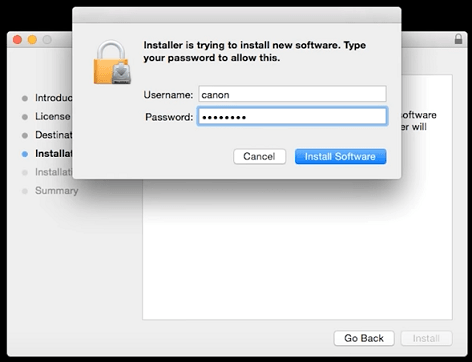
8- Allow the software installation.
In the process, you’ve to enter your mac administrator username and password to allow the installation. Then, click Install Software to continue Canon MX922 printer install.
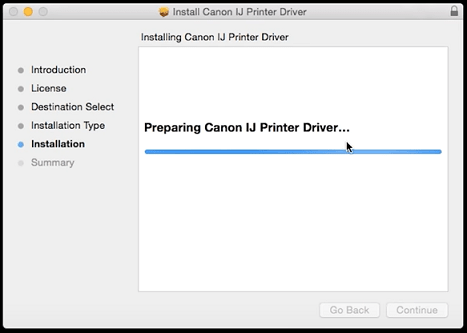
9- Wait for the Installer file to finish the installation.
The setup installs drivers and software on your Mac PC. Wait a while to see the “Installation was successful” window. Click “Close” and proceed next.
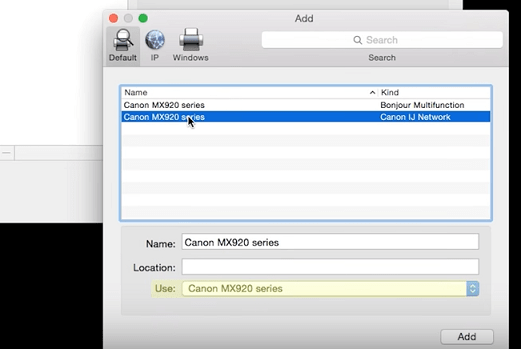
10- Add your MX922 printer series and check the printing function.
Open System Preferences > Printers and Scanners, then click “+” and select Add printer. Now, choose your printer (MX920 series) and click Add. From options & supplies, click Utility, then simultaneously load papers on the printer. To start printing, click on Print Test Page > OK. If the page is printed, your Canon Printer MX922 is successfully set up.